How Do You Draw a Poppy Flower
Easy How to Draw a Poppy Tutorial and Poppy Coloring Page
posted in: 1st Grade, 2nd Grade, 3rd Grade, 4th Grade, 5th Grade, Crayons, Drawing, Easy How to Draw Tutorials, Holiday Drawing Ideas, Kindergarten, Memorial Day, Plants, Veteran's Day
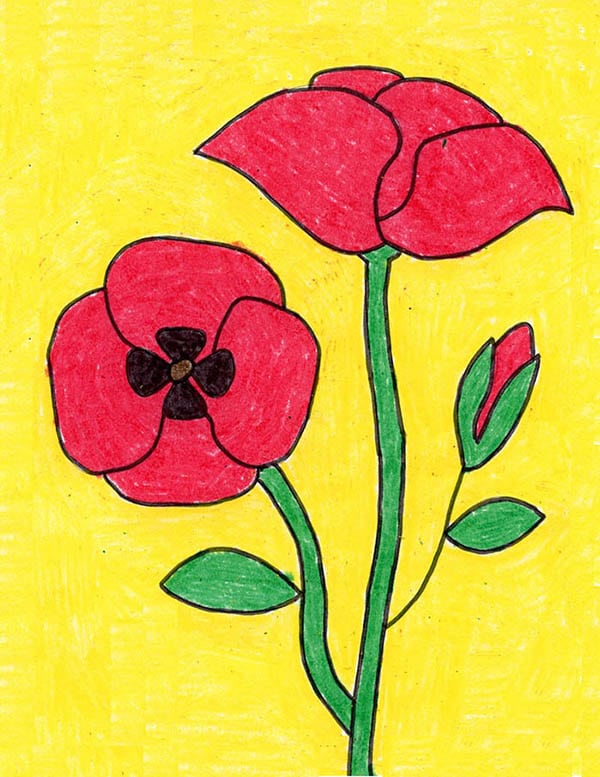
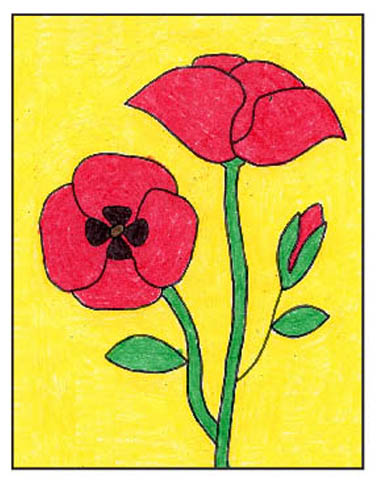
Below you'll find an easy step-by-step tutorial for how to draw a Poppy and a Poppy Coloring Page, the symbol of Memorial and Remembrance Day. This lesson shows students how to draw the flower in three stages of bloom.
Drawing of a Poppy
Students that are honoring Remembrance Day in Canada, and Memorial Day in the States, now have some help in learning how to draw a poppy. It has come to symbolize both holidays.
The poppy's origin as a popular symbol of remembrance lies in the landscapes of the First World War. It began with a poem written by a World War I brigade surgeon. He was struck by the sight of the red flowers growing on a ravaged battlefield and wrote a poem about it.
The poppy continues to be sold worldwide to raise money and to remember those who lost their lives in the First World War and in the following conflicts.
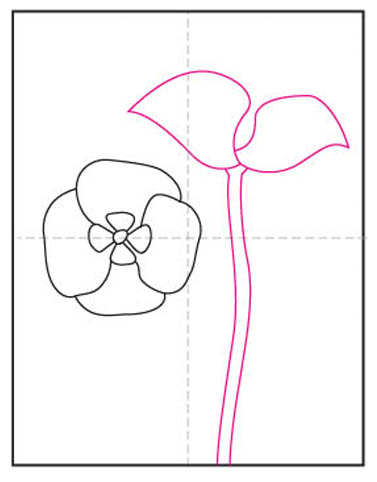
A poppy flower is unique in that the petals rotate around the center. This tutorial shows students how to draw them so that they can easily add them without having to erase any overlapping lines. Less erasing always makes for a neater drawing, and brighter colors.
Getting Started with Drawing Guides
The best way to get students off to a good start to any drawing lesson is to show them how to use guides as a reference point.
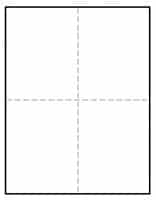
You may have noticed that all of the tutorials on this site have a dashed line running through the center of each step, in both horizontal and vertical directions. If students make theirown centered lines on theirown paper, before drawing, they will have an easy reference to follow.
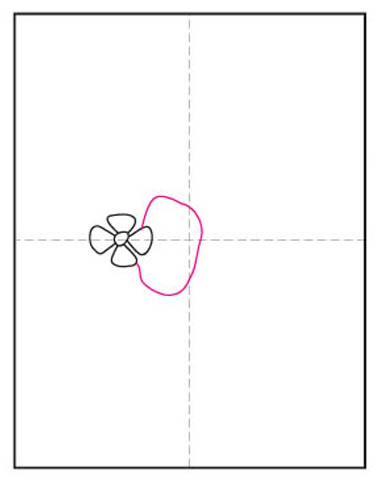
For instance, as seen in Step 1 below, the flower center needs to start on the left side of the centered line. It's important to get that shape in a good size and place, before adding the petals around it.
Drawing skills are all about getting the size and placement of lines on paper, so having some visual reference point to get started, will always help anyone learn how to be a little more accurate.
So does that mean students need to get out a ruler to draw a big fat line down the center of their paper before they start? Goodness no, please don't! That will most likely be hard to erase and distract from any finished art. No, simply fold the sheet of paper in half both ways, make a crease, and unfold. The beauty is that by the time the drawing is done and colored in, the creases will disappear.
And now, on to the poppy drawing project.
Pin Me To Your Pinterest Board!
Use the Button below to download a PDF Tutorial
New! See my Coloring Page Gallery
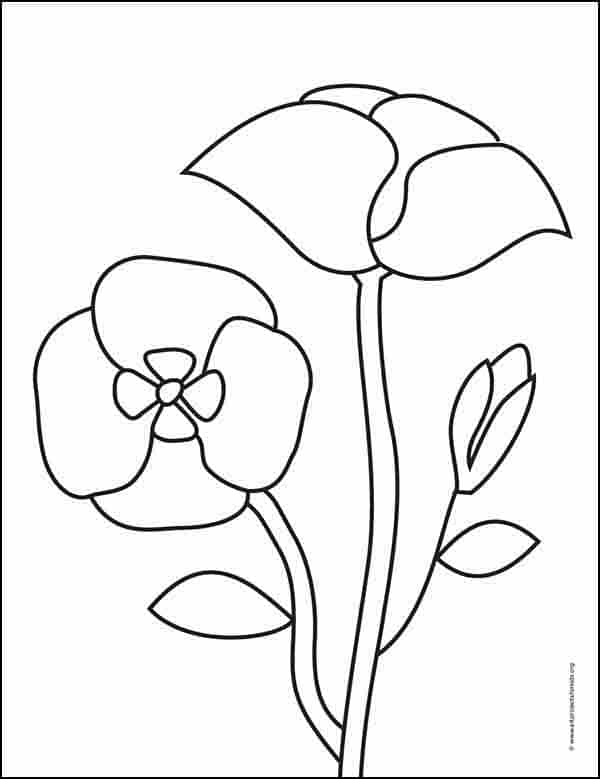
Poppy Coloring Page
Materials for a Poppy Drawing

- Black Sharpie Marker (affiliate link)
- Prang Crayons (affiliate link)
- Crayola Crayons (affiliate link)
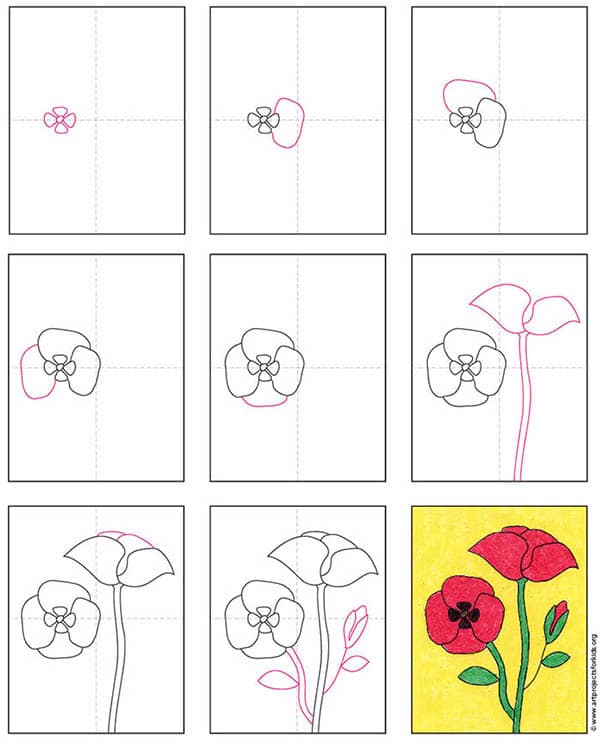
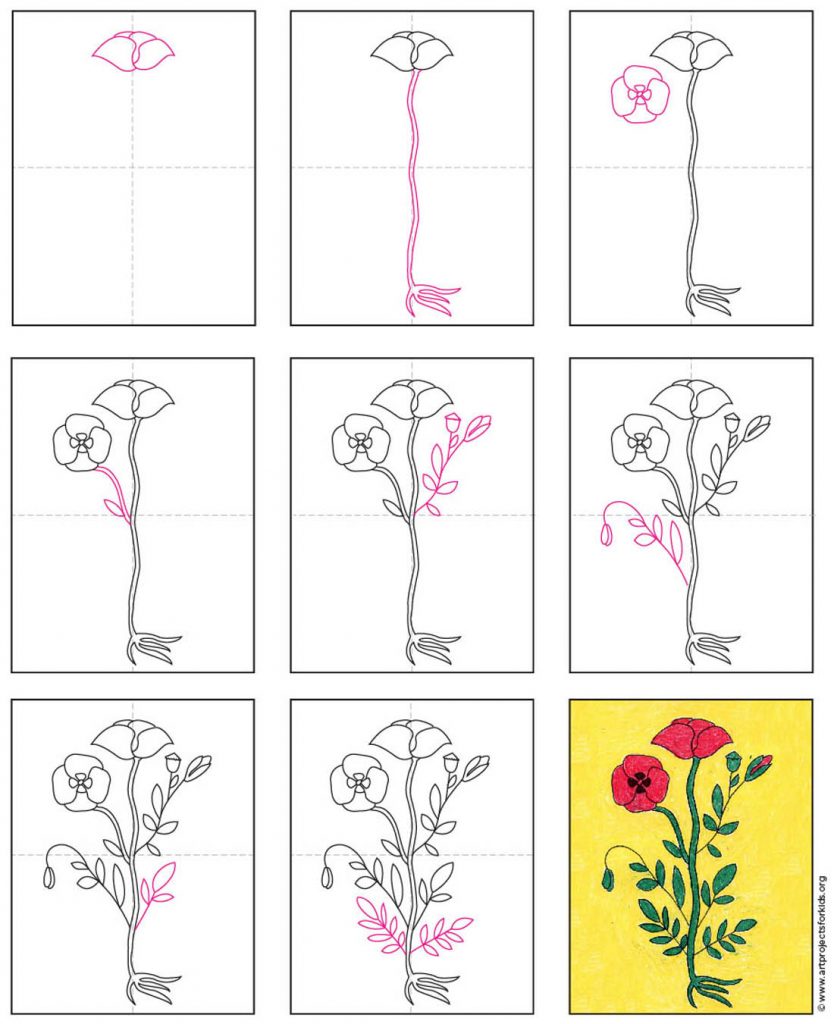
Step by Step Directions to Draw a Poppy
Time needed:45 minutes.
Draw a Poppy
- Start by drawing the center of the poppy.

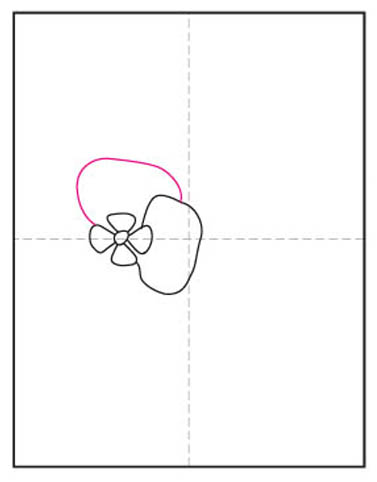
- Add a petal to the right of the center.
- Draw a petal on the top.
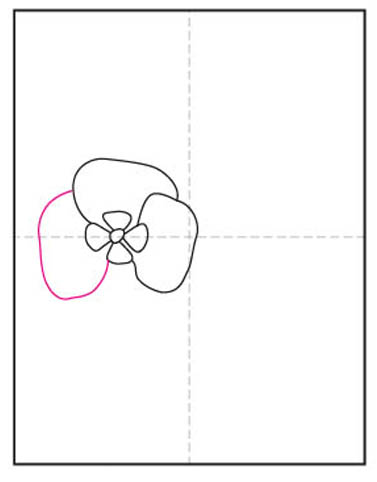
- Add a petal to the left side.
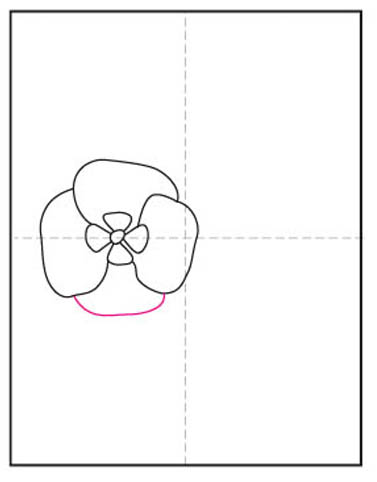
- Finish the bloom by drawing a petal on the bottom.
- Start the side view poppy with a stem and two petals.
- Add petals to the top of the that flower.

- Finish drawing the stems and the leaves.

- Trace the drawing with a marker and color.
Draw a Poppy Plant Tutorial
More Flower Drawing Projects
macqueennoins1972.blogspot.com
Source: https://artprojectsforkids.org/how-to-draw-a-poppy/
0 Response to "How Do You Draw a Poppy Flower"
Post a Comment